Architectural Concrete Finishes for Homes: 2026 Guide
Table of Contents
Why Architectural Concrete Finishes Belong in Modern Homes
What Sets Architectural Concrete Apart From Standard Slabs
Types of Concrete Finishes: A Homeowner's Overview
Broom, Trowel and Form Finishes
Exposed Aggregate, Stamped and Board-Formed Surfaces
Polished Concrete Floors for Homes: What to Expect
Concrete Floor Colors and Textures: Building a Palette
Matching Finishes to Rooms, Climate and Slip Risk
Room-by-Room Finish Guidance
Climate and Exposure Factors
Slip Risk: Matching Texture to Exposure
Installation, Timelines and What Disruption to Expect
Stage-by-Stage Sequence
Realistic Timelines
Disruption to Expect
Concrete Finish Maintenance and Lifecycle Costs
Limitations and Common Failure Modes to Watch For
Frequently Asked Questions
Last Updated: October 22, 2026
Why Architectural Concrete Finishes Belong in Modern Homes
Architectural concrete finishes for homes turn a structural material into a design feature, and this guide from Symmetry Decorativ 1 walks through every option a homeowner needs to weigh. Concrete now appears on kitchen islands, fireplace surrounds, bathroom vanities and full living-room floors: one material, endless surface treatments, and a look that reads as modern without chasing trends.
What Sets Architectural Concrete Apart From Standard Slabs
Architectural concrete is concrete designed and finished as a visible design element rather than hidden structure. The difference is the formwork, placement, curing and surface treatment, each chosen for how the final face will look and wear. A standard slab is judged on strength; an architectural surface on strength, color consistency, texture and durability.
Types of Concrete Finishes: A Homeowner's Overview
Homeowners can choose from roughly six finish families: broom, trowel, form, exposed aggregate, stamped and polished. Each delivers a different texture, slip profile and maintenance load.
Broom, Trowel and Form Finishes
Broom finish is a textured surface created by dragging a stiff brush across wet concrete. It is the most slip-resistant option and the most forgiving on outdoor steps and pool surrounds, though the visibly grooved look suits patios better than living rooms.
Trowel finish is smoothed with a steel trowel, producing a dense, flat surface that reads as clean and minimal indoors. Avoid high-gloss trowel finishes in wet areas; they become slick underfoot, so specify a light texture or matte sealer instead.
Form finish leaves the imprint of the mold itself. Board-formed concrete, where timber boards line the formwork, leaves a grain pattern that many architects request for feature walls and fireplace surrounds.
Exposed Aggregate, Stamped and Board-Formed Surfaces
Exposed aggregate reveals the stone inside the mix by washing away the top layer of cement paste, giving a speckled, natural look that hides scuffs and suits entries and outdoor living areas.
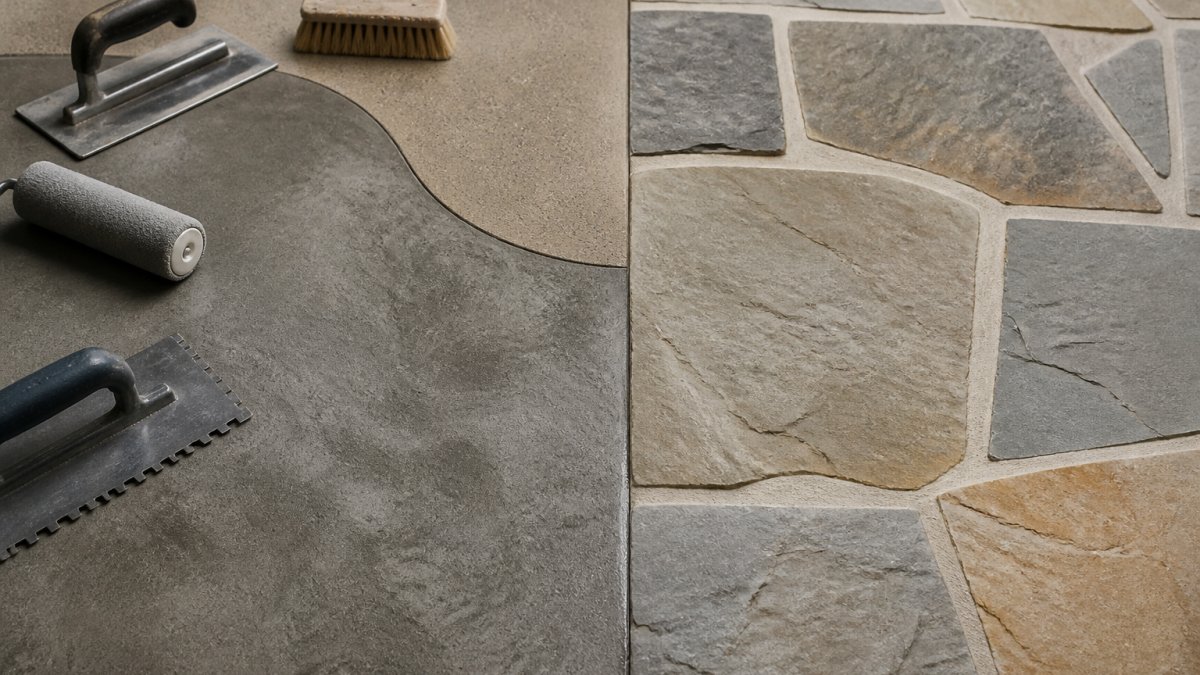
Stamped concrete presses a mold into the surface to imitate stone, slate or timber, offering the widest decorative range of any finish. The caveat: pattern depth and color release agents need careful execution, or the result looks painted rather than stone-like.
Board-formed concrete doubles as structure and decoration, with the timber grain acting as the ornament. It is the finish most associated with high-end residential architecture.
Finish | Best For | Slip Resistance | Maintenance Load |
Broom | Patios, steps, pool surrounds | High | Low |
Trowel | Interior floors, counters | Low when polished | Low to moderate |
Form / board-formed | Feature walls, fireplace surrounds | Not applicable | Low |
Exposed aggregate | Entries, outdoor living | High | Low |
Stamped | Driveways, terraces, patios | Moderate to high | Moderate |
Polished | Living areas, kitchens | Moderate when matte | Moderate |
Polished Concrete Floors for Homes: What to Expect
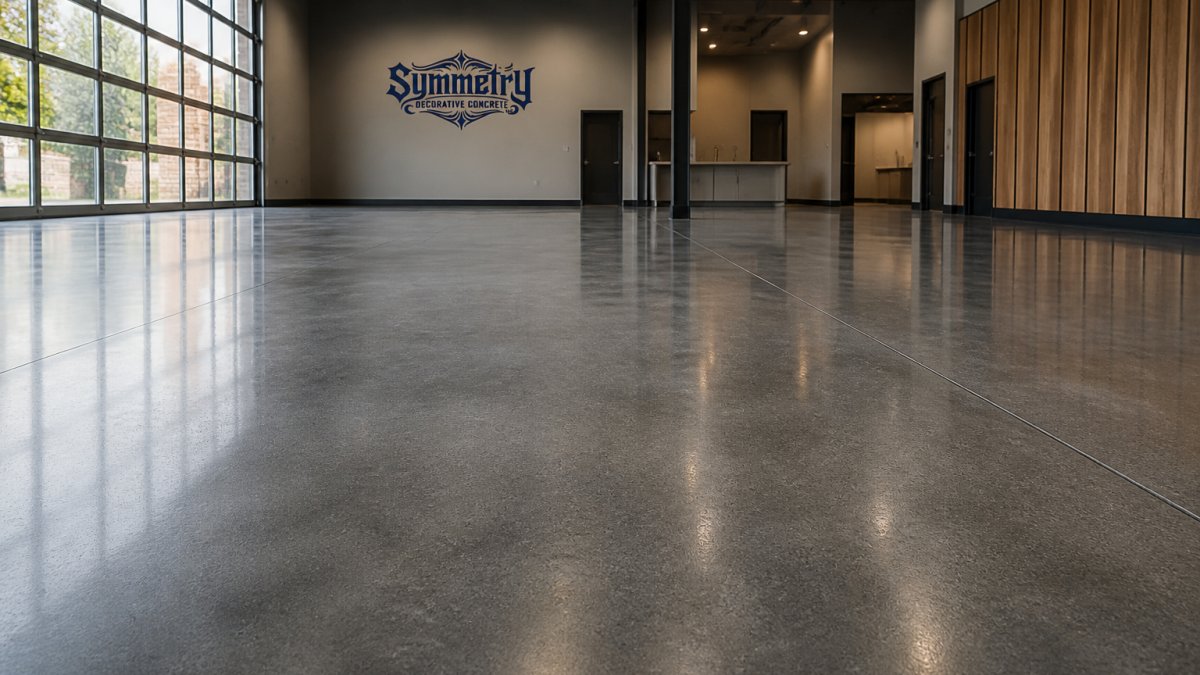
Polished concrete floors for homes deliver a seamless, reflective surface that makes rooms feel larger and brighter. The process grinds the slab with progressively finer abrasives, then seals it.

Expect visible aggregate or a creamier look depending on how deep the grinding goes; the deeper the cut, the more stone shows. Decide this before work starts, because it cannot be reversed later.
Pro Tip Ask for a sample panel poured and finished on site before committing to the full floor. Lighting in your actual room changes how a polished surface reads far more than a showroom sample suggests.
Concrete Floor Colors and Textures: Building a Palette
Concrete floor colors and textures come from three sources: integral pigment mixed into the concrete, surface stains applied afterward, and the aggregate itself. Integral pigment gives the most consistent result across a large floor. Stains offer more dramatic variation and suit feature areas better than whole rooms.
Deco-Crete TV
Textures range from glass-smooth to heavily etched. A light acid wash or a fine sandblast creates grip without visual noise. For a cohesive palette, pick two tones at most: a base color for the majority of the floor and one accent for borders, stairs or a single feature wall.
Watch Out Mixing integral pigment and surface stain on the same project often produces patchy, uneven color, because the two processes age at different rates. Choose one method per surface and stay with it.
Matching Finishes to Rooms, Climate and Slip Risk
Finish selection should start with the room and the climate, not the catalog. A finish that looks superb in a dry hallway can become a liability on a covered patio in a wet climate.
Room-by-Room Finish Guidance
Bathrooms. Traction matters more than sheen.
Living areas. Matte or satin polished concrete suits open-plan living because it reflects light without mirror-like glare.
Bedrooms and hallways. Polished concrete is cool and hard underfoot, so area rugs or a honed finish with subtle texture soften the feel.
Stairs. Texture the treads and keep the sealer rated for abrasion.
Patios, pool surrounds and outdoor living. Broom and exposed aggregate are the default for grip.
Driveways and garages. Stamped or exposed aggregate gives curb appeal and traction. In cold climates, specify air-entrained concrete and proper jointing so the surface survives freeze-thaw cycles.
Feature walls and fireplace surrounds. Board-formed or form finishes add visual depth without slip concerns.
Climate and Exposure Factors
Freeze-thaw climates. Exterior concrete needs air-entrained mixes, adequate joint spacing, and a vapor-permeable sealer. A film-forming sealer that traps moisture can contribute to spalling, so ask whether the mix and sealer are specified for freeze-thaw exposure.
Hot, sunny regions. Lighter colors and higher solar reflectance reduce heat gain on patios and driveways. Dark integral pigments fade faster under strong UV, so choose UV-stable pigments and expect some color shift.
Wet and humid climates. Moisture management drives finish choice. Penetrating sealers that let the slab breathe are preferred outdoors, and textured finishes that drain well reduce standing water.
Coastal exposure. Salt air and saltwater splash accelerate wear on sealers and can dull finishes. Rinse outdoor surfaces periodically and choose a sealer rated for coastal conditions.
Slip Risk: Matching Texture to Exposure
Slip risk rises sharply wherever water, oil or pool splash is present, so match texture to exposure: the wetter and more trafficked the surface, the more texture it needs. A matte sealer improves grip slightly but does not replace texture. If a client wants a smooth look in a wet area, an etched or lightly sandblasted surface preserves the visual while adding traction. Test a sample wet and dry first.
Watch Out Do not choose a finish from a showroom sample alone. Lighting, moisture, and foot traffic in your actual room change how a surface performs. Request an on-site sample panel and test it wet and dry.
Installation, Timelines and What Disruption to Expect
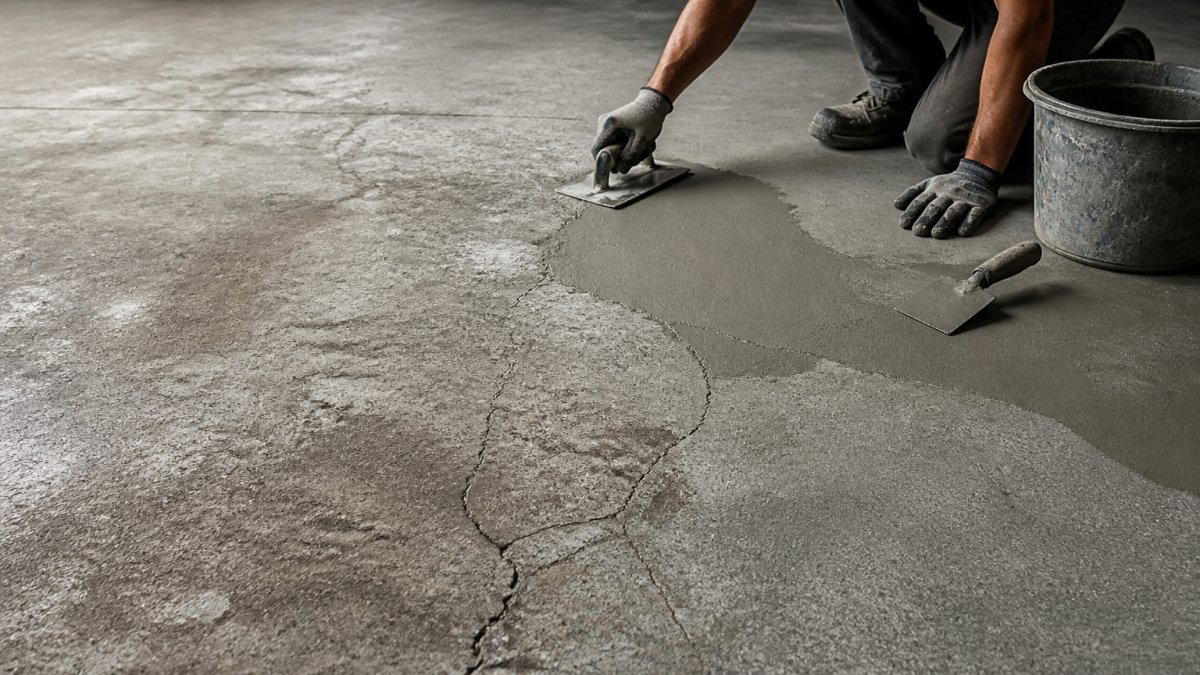
Installation runs in stages: substrate preparation, formwork or overlay, placement, curing, and finishing. Curing is the stage homeowners underestimate; concrete needs time to reach adequate strength before grinding or sealing, and rushing it is one of the most common causes of later surface defects.
Stage-by-Stage Sequence
1. Assessment and substrate preparation. The existing slab is checked for soundness, moisture and flatness.
2. Formwork or overlay setup. For cast-in-place work, formwork is built and any board-forming or pattern liners are set.
3. Placement. Concrete or overlay is placed, leveled and initially finished.
4. Curing. Concrete gains strength over time, and grinding, sealing or heavy traffic should wait until it has reached adequate strength.
5. Grinding, polishing, or texturing. For polished concrete, grinding proceeds through progressively finer abrasives. This stage generates dust and noise, so containment and ventilation matter.
6. Sealing and final detailing. Sealer is applied once the surface is dry and clean. Joints, edges, and transitions are finished, and the surface is checked for uniformity.
Realistic Timelines
Timelines depend on scope, substrate and weather, but a common residential pattern is: assessment and preparation in the first days, placement and initial finishing within the first week, curing over the following days to weeks, then grinding and sealing once strength allows. Overlays shorten demolition but still require curing and sealing time, and cold or wet weather can extend the schedule. Ask for a written sequence with cure times included, not just a start and finish date.
Disruption to Expect
Expect dust, noise and restricted access during grinding and surface preparation. Plan for the area to be out of use for the curing window, protect adjacent spaces with containment, and move furniture before work begins. For kitchens and bathrooms, plan temporary alternatives for the duration.
Key Takeaway The single biggest schedule risk is curing time, not labor. Build your move-in or furniture timeline around the cure, and the rest of the project usually holds. Ask for a written sequence that lists each stage, the expected duration, and the cure times for your specific mix and thickness. A provider who can give you that document is usually the one who manages disruption well.
Concrete Finish Maintenance and Lifecycle Costs
Concrete finish maintenance depends almost entirely on the sealer. Penetrating sealers need reapplication periodically; film-forming sealers wear visibly and can peel in high-traffic zones. Polished floors typically need only dust mopping and a pH-neutral cleaner, with occasional re-polishing in the busiest areas.
Lifecycle thinking matters more than the initial outlay. A finish that costs less upfront but needs resealing every couple of years can cost more than a durable polished surface. Ask for the maintenance schedule in writing and compare total ownership over a decade, not the first invoice.
Pro Tip Keep a small offcut or sample of your finished surface. Matching a repair years later is far easier when the original color and texture reference still exists.
Limitations and Common Failure Modes to Watch For
Concrete is durable, not indestructible, and homeowners deserve the honest list.
Cracking: shrinkage cracks appear when joints are poorly placed or curing is rushed.
Efflorescence: white mineral deposits on the surface, usually a moisture issue.
Delamination: a bonded overlay lifting from the substrate, often from poor surface prep.
Fading: UV exposure and cheap pigments dull color over time.
Mechanical damage: dropped tools and heavy furniture legs chip edges and gloss finishes.
Most of these trace back to preparation and curing rather than the material itself. A provider who talks openly about joints, moisture and cure times usually gets it right.
Choosing architectural concrete finishes for homes is a decision about how a surface will look and perform for decades, not just at handover. Symmetry Decorativ 1 brings traditional honest labor and architectural precision to every project, from custom polished floors to board-formed feature walls. If your project deserves a surface built to endure, request a consultation with our team and define your space with concrete done properly.
Frequently Asked Questions
What are the four main types of concrete surface finishes?
Most finishes fall into four families: floated or troweled finishes (smooth, interior floors), broom finishes (brushed texture for outdoor and garage slabs), exposed aggregate (top paste removed to reveal stone), and stamped or decorative finishes (patterned, colored surfaces). Within each family, sealers, pigments and polishing grits create further variation. For homes, the choice usually comes down to how much slip resistance, sheen and pattern you want in each room.
Which concrete finish is best for residential floors?
Polished concrete is the most common choice for living areas because it is hard-wearing, easy to clean and reflects light. For kitchens, bathrooms and entryways, a honed or lightly textured finish adds grip underfoot. Bedrooms often suit a matte sealed finish for warmth. The right answer depends on foot traffic, moisture and whether the slab will be exposed to grit from outdoors, so match the finish to each room rather than applying one surface throughout.
Can architectural concrete be colored or textured?
Yes. Integral pigments mixed into the concrete, plus stains and dyes applied to the surface, produce a wide color palette from warm sand tones to deep charcoal. Texture comes from formwork (board-formed or ribbed patterns), stamping, grinding and sandblasting. Samples should always be cast and cured before approval, because pigment and aggregate vary between batches and the final color shifts as the concrete dries.
How do you maintain polished concrete floors in a home?
Dust-mop or vacuum regularly to remove grit that dulls the surface, then damp-mop with a pH-neutral cleaner. Avoid acidic products and wax-based polishes, which leave a film. Reseal or re-buff every few years depending on traffic, and use felt pads under furniture legs. With routine concrete finish maintenance, a polished floor keeps its sheen for decades, and any dull patches can be re-polished without replacing the slab.
Request a consultation
Comments